Both of Fujifilm’s recent releases, the X-H2S camera and the Fujinon XF150-600mm telephoto lens, deliver features tailor-made for my primary genre — wildlife photography. So I could not pass up the opportunity to test them out. As is my custom, I took them straight to a field, and here are my experiences with the new body.
All the photos in this article were taken with the new Fujifilm XF150-600mm lens, but I cover it in detail in a separate article.
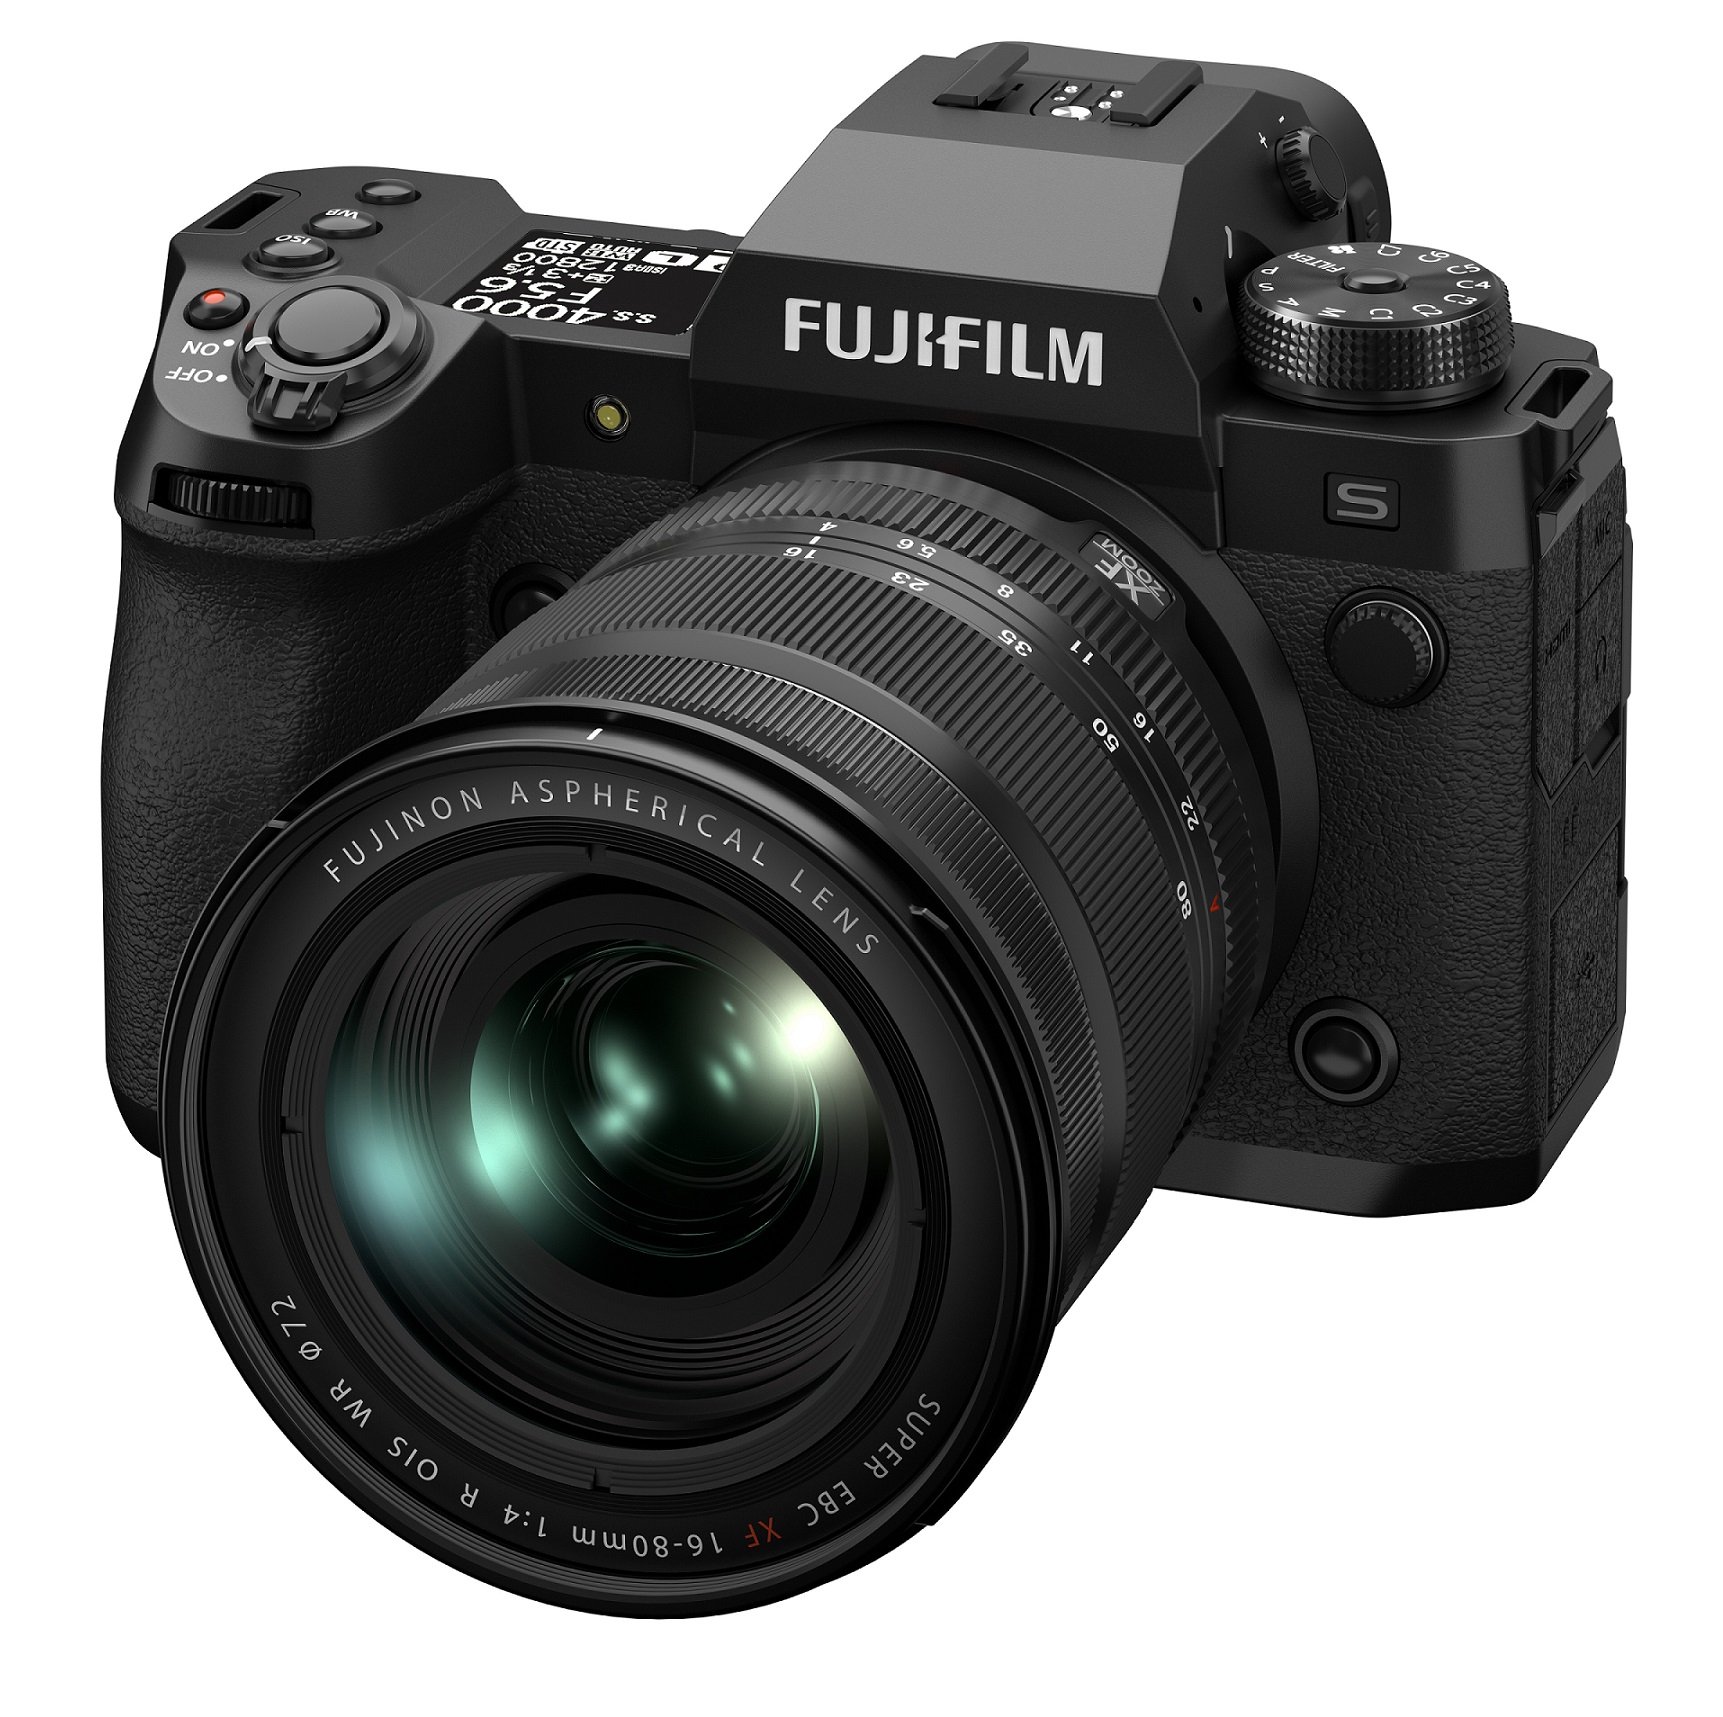
I tested Fujifilm’s most advanced body (at the time of writing this article) during a tour to Ecuador. I led a workshop there, which admittedly meant shooting quite differently from my usual trips, but on the other hand, it provided some attractive opportunities to test new gear.
I am well known to be a long-time fan of the X-T series of cameras, and I will admit that the older X-H1 left me cold, so it took me some time to get used to the X-H2S. I have no complaints about the design of the camera. The body is quite large, which helps to spread heat, especially when shooting video, but it also handles well with big lenses thanks to the large grip, even with my long fingers.
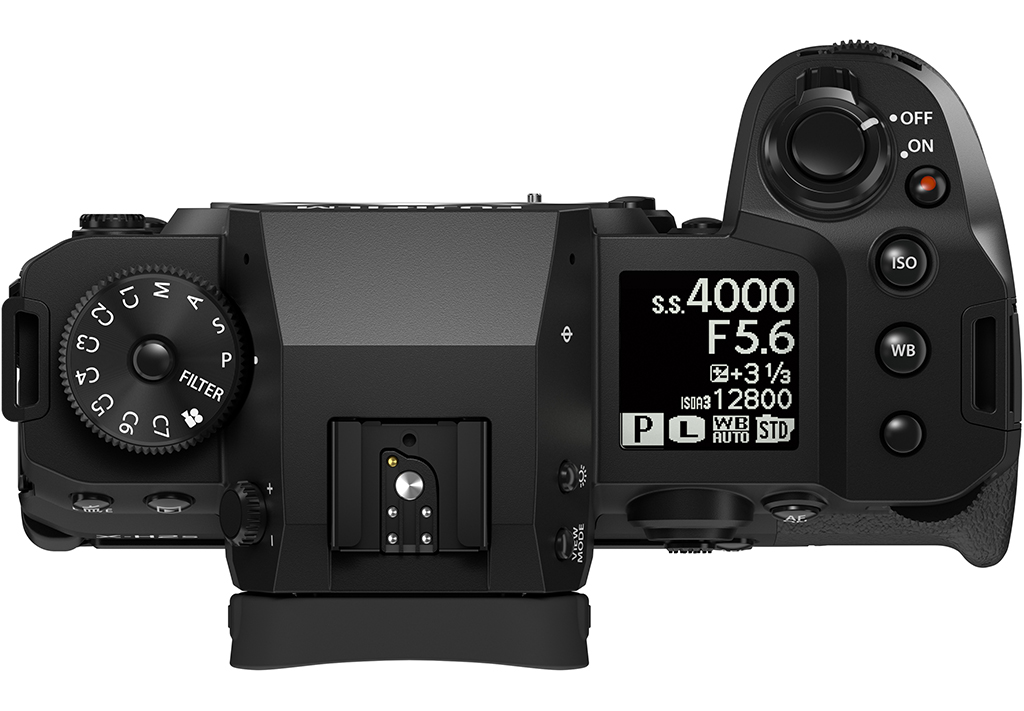
Both X-H2 models use a P/S/A/M mode dial instead of separate controls for shutter speed, ISO, and exposure correction as we know them from many current and older Fujifilm models. It undoubtedly makes it easier to switch from other brands, but it may be a step backward for long-time users. I have confessed my preference for separate dials several times, which I do not consider a retro-fad, but a practical choice, for example, when using the camera while wearing gloves. Still, I have come to like the X-H2S quite well, especially thanks to the well-designed custom preset system, which also offers a main circular dial under the C1 to C7 designation. These can represent the complete configuration of the camera, from P/S/A/M mode and exposure settings to focusing mode and image parameters such as film simulation, white balance, and so on. Of course, presets can also be used for video recording. Configuring them right will probably give you a bit of work at first. Just for the record, I personally settled on the following options:
- C1 was my default setting for wildlife in aperture priority (A) mode with automatic ISO over the entire 160 — 12800 range, a shutter speed of 1/60 sec or faster, and the autofocus in AF-S mode
- C2 was my go-to for action shooting in manual mode (M) with full-range auto ISO, a shutter speed of 1/1000 sec, and continuous autofocus (AF-C)
- C3 was similar to the C1 preset, but with Across+Ye film simulation for display in black and white — I use it for some of my non-wildlife projects
- C7 was for standard video shooting — 4K/50 fps mode, 1/100 sec shutter speed, M mode, and manual white balance
- C6 was for shooting slow-motion video in 4K at 120 fps with shutter speed adjusted accordingly, and other parameters similar to the C7 preset
- and finally, an almost identical C5 also for slow-motion, but this time in FullHD at 240 fps
During the two-week trip, I gradually tweaked the aforementioned presets, and I would still partially reconsider them in the long term. Nevertheless, I can already say that the ability to change the complete camera settings with one turn of the wheel is very addictive. In some situations, the separate exposure dials on the X-T4 remain faster for me, but the custom presets do a decent job. And for sure, their advantage is that they can change several parameters at once. By the way, I do not miss the autofocus mode lever at all — the ability to switch from AF-S to AF-C or MF within a preset (or with a function button) is a clear advantage for me.
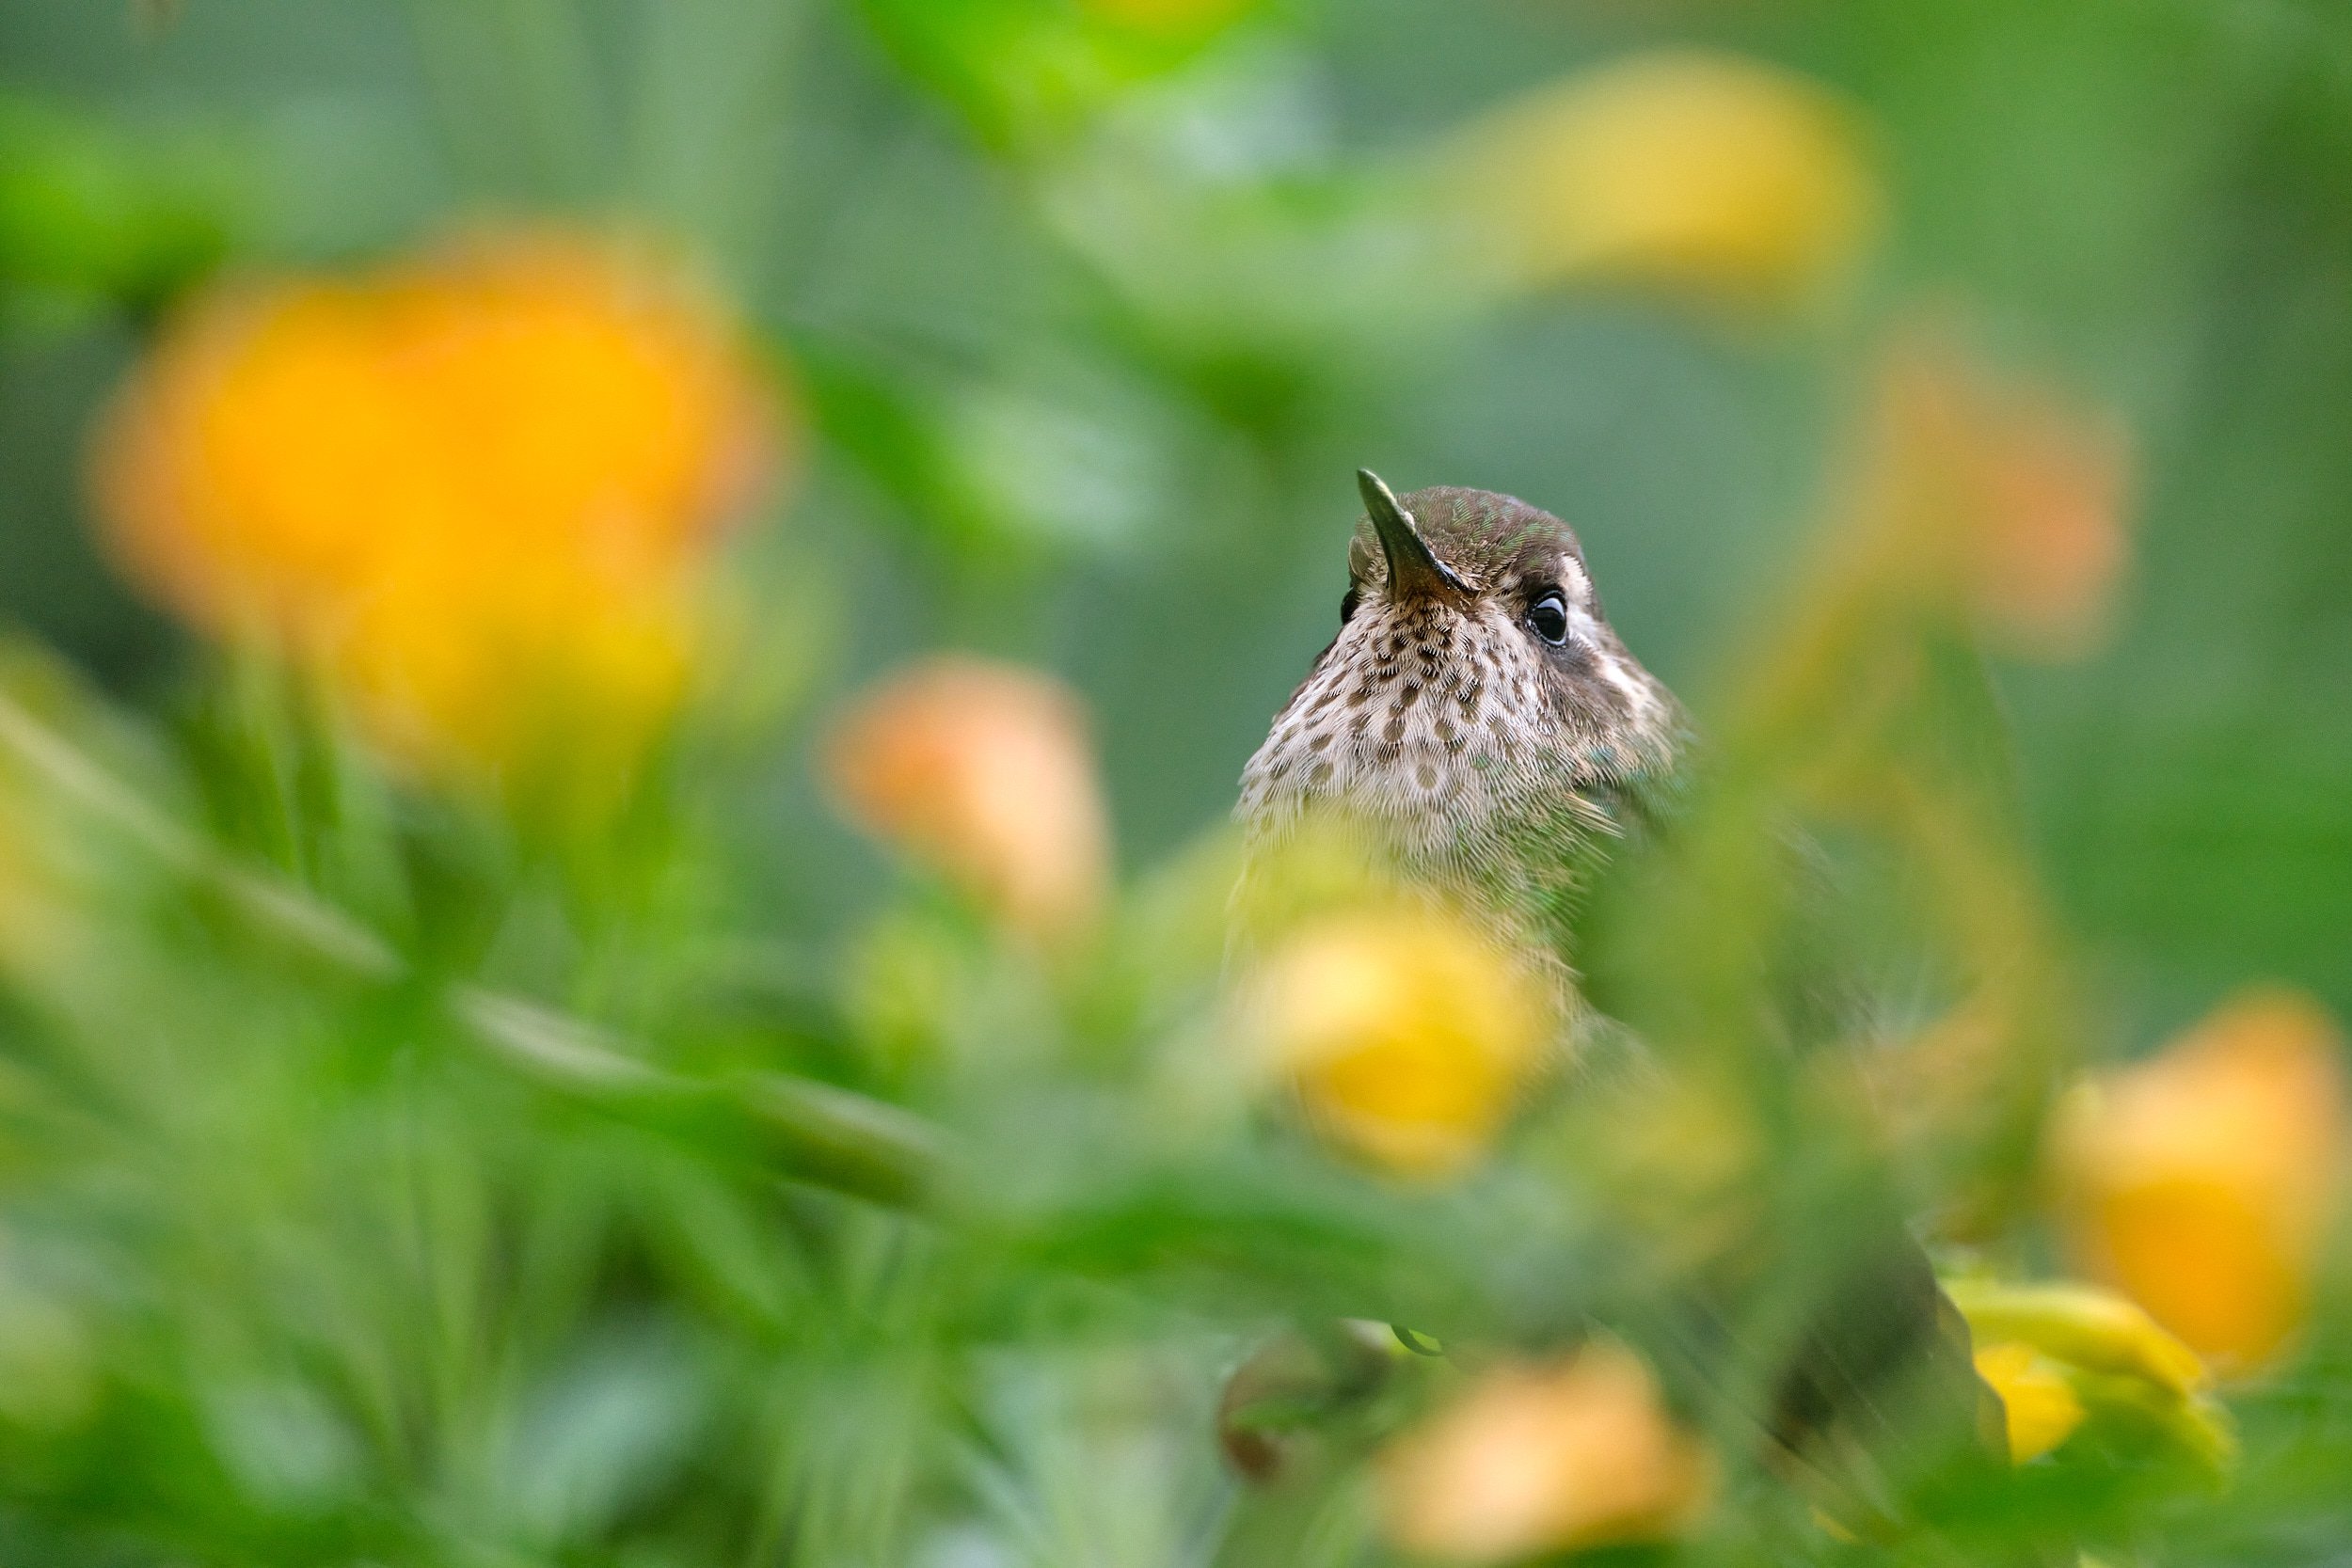
(Fujifilm X-H2S + XF150-600mmF5.6-8 R LM OIS WR at 600 mm, f/8, 1/60 sec, ISO 1250)
The updating of the individual options of presets is well done. Thanks to my workshops, I meet users of various gear and can often compare how competitors approach similar features. In some cameras, the presets work by automatically remembering the last used settings with all changes made which may not be ideal — in many situations, the main advantage of a preset is that it restores the expected camera settings. Fujifilm has realized this and is giving us a choice: the user can set whether the presets should automatically update or remember the original settings. In the first case, any change to the settings is automatically saved to the active preset. In the second case, the changes are temporary and are forgotten when the camera is switched off (however, until then, these changes remain active even when switching between presets). Manual saving of changes is also cleverly handled. If you have automatic preset updating turned off, the changed parameters are marked in red in the menu. When you place the cursor over such an item, you can use the Q button to save its value to the current preset. The main P/S/A/M modes behave as if auto-update is on for them, so all changes remain active even after you turn the camera off.
Overall, I think this is a very well-thought-out control system. From a wildlife photographer’s perspective, perhaps my only objection is that the mode/preset dial is located on the left side of the camera. The left hand usually has to support the telephoto lens, so switching modes means releasing the hold on the grip and reaching the dial with the right hand.
(Fujifilm X-H2S + XF150-600mmF5.6-8 R LM OIS WR at 256mm, f/8, 1/125 sec, ISO 2500)
As I mentioned, I had to get used to this method of operation after years with the X-T series. But I was familiar with the rest. X-H2S offers a lot of configurable buttons with a range of useful assignable functions and a customizable Q menu as well, allowing the camera to be tailored to each user’s needs. Only a few things bother me. I regret that both front and rear rollers have lost their push function. It will probably make them more durable, but I just miss this functionality. For example, pressing the rear roller was replaced with pressing the joystick, which I find less accurate. I occasionally moved the focus point or moved to an adjacent photo while reviewing instead of the desired function. Another drawback may be the need to reserve one of the function buttons for setting exposure correction in M mode with auto ISO. I also did not take to the very soft shutter button. The transition between half-pressing to focus and exposure is almost imperceptible, and I sometimes took a photo sooner than I wanted to. And finally, I am not very happy that the first position in the Q menu permanently occupies the P/A/S/M mode selection, which you can only use in presets C1 to C7. Personally, I would like to set a different function for this prominent and most readily available location. However, none of this is a fundamental problem — it is more of a habit.
But enough about the controls, let’s talk about the shooting. The X-H2S has been made for speed, from autofocus to continuous shooting to video. Again, I have no complaints in this regard. The improvements in autofocus are noticeable compared to the X-T4, partly due to better hardware and partly due to new algorithms. These may find their way into older cameras as a firmware update, but the X-H2S will probably remain the most powerful model for now. Also, continuous shooting at 40 frames per second remains its unique feature. In general, lower values are sufficient for most situations but especially in conjunction with the Pre-shot function, it is a great way to perfectly capture fast action — such as a bird in flight with its wings in the perfect position, etc. However, if you accidentally leave this function on during regular shooting, you will end up with hundreds of unnecessary photos — unintentionally tested for you :)
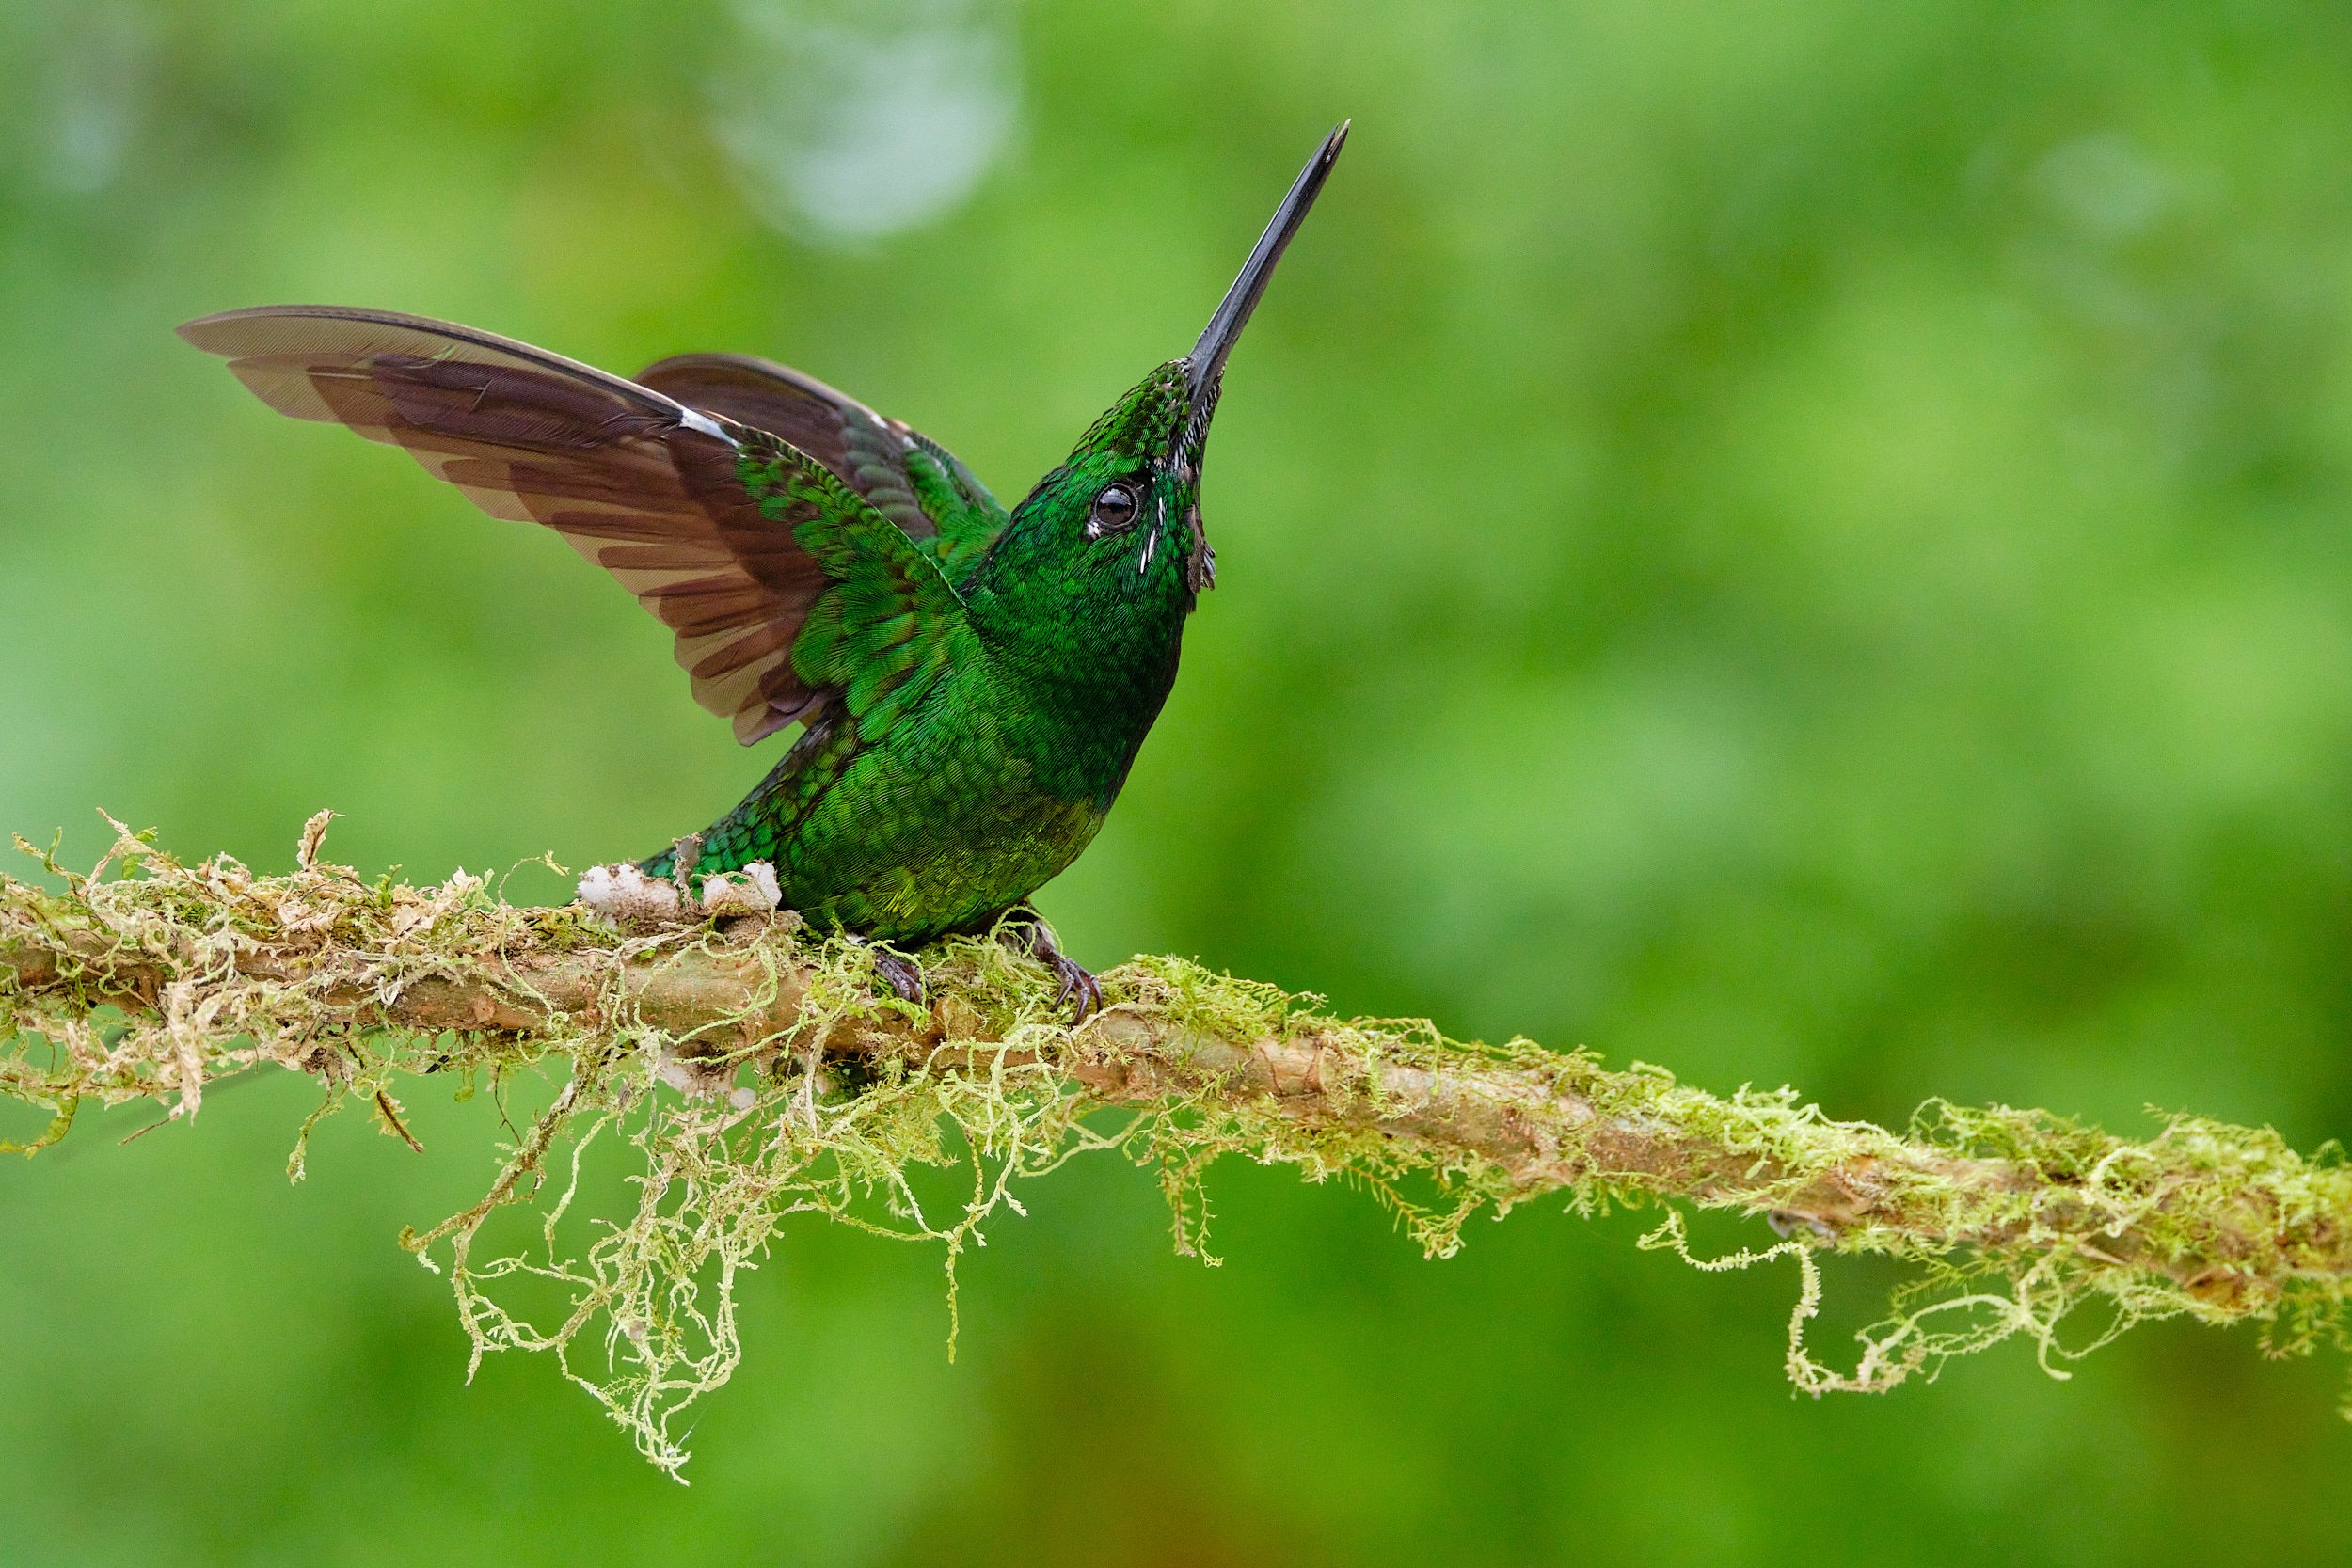
Empress brilliant, Ecuador
(Fujifilm X-H2S + XF150-600mmF5.6-8 R LM OIS WR at 230 mm, f/6.4, 1/1250 sec, ISO 2500)
A significant innovation for me is autofocus with object detection based on machine learning algorithms. In this respect, thanks to my workshops and tours, I could compare with other brand cameras, including some of the top models. As far as I can tell, the X-H2S does not lag behind. I have been shooting birds the most during testing, and it worked very well. Sometimes I was amazed, at how difficult situations the autofocus can handle, including the narrow view through the vegetation or a bird partially obscured by tree branches. On the other hand, it is fair to say that you will undoubtedly come across scenes, species, or positions of birds where detection will fail — I have sometimes experienced the system failing to recognize the head or eye of some birds myself. In specific cases, it may also happen that the detection picks up on another element in the scene — for example, it can consider the bright tip of a broken branch to be an animal’s eye. Fortunately, thanks to the configurable controls, it is no problem to assign the turning the detection on and off to a function button, so if it is failing, you can switch to traditional focusing immediately. I do not think you need this too often, but it does come in handy occasionally. By the way, the bird detection mode works quite well for some insects or other small animals too.
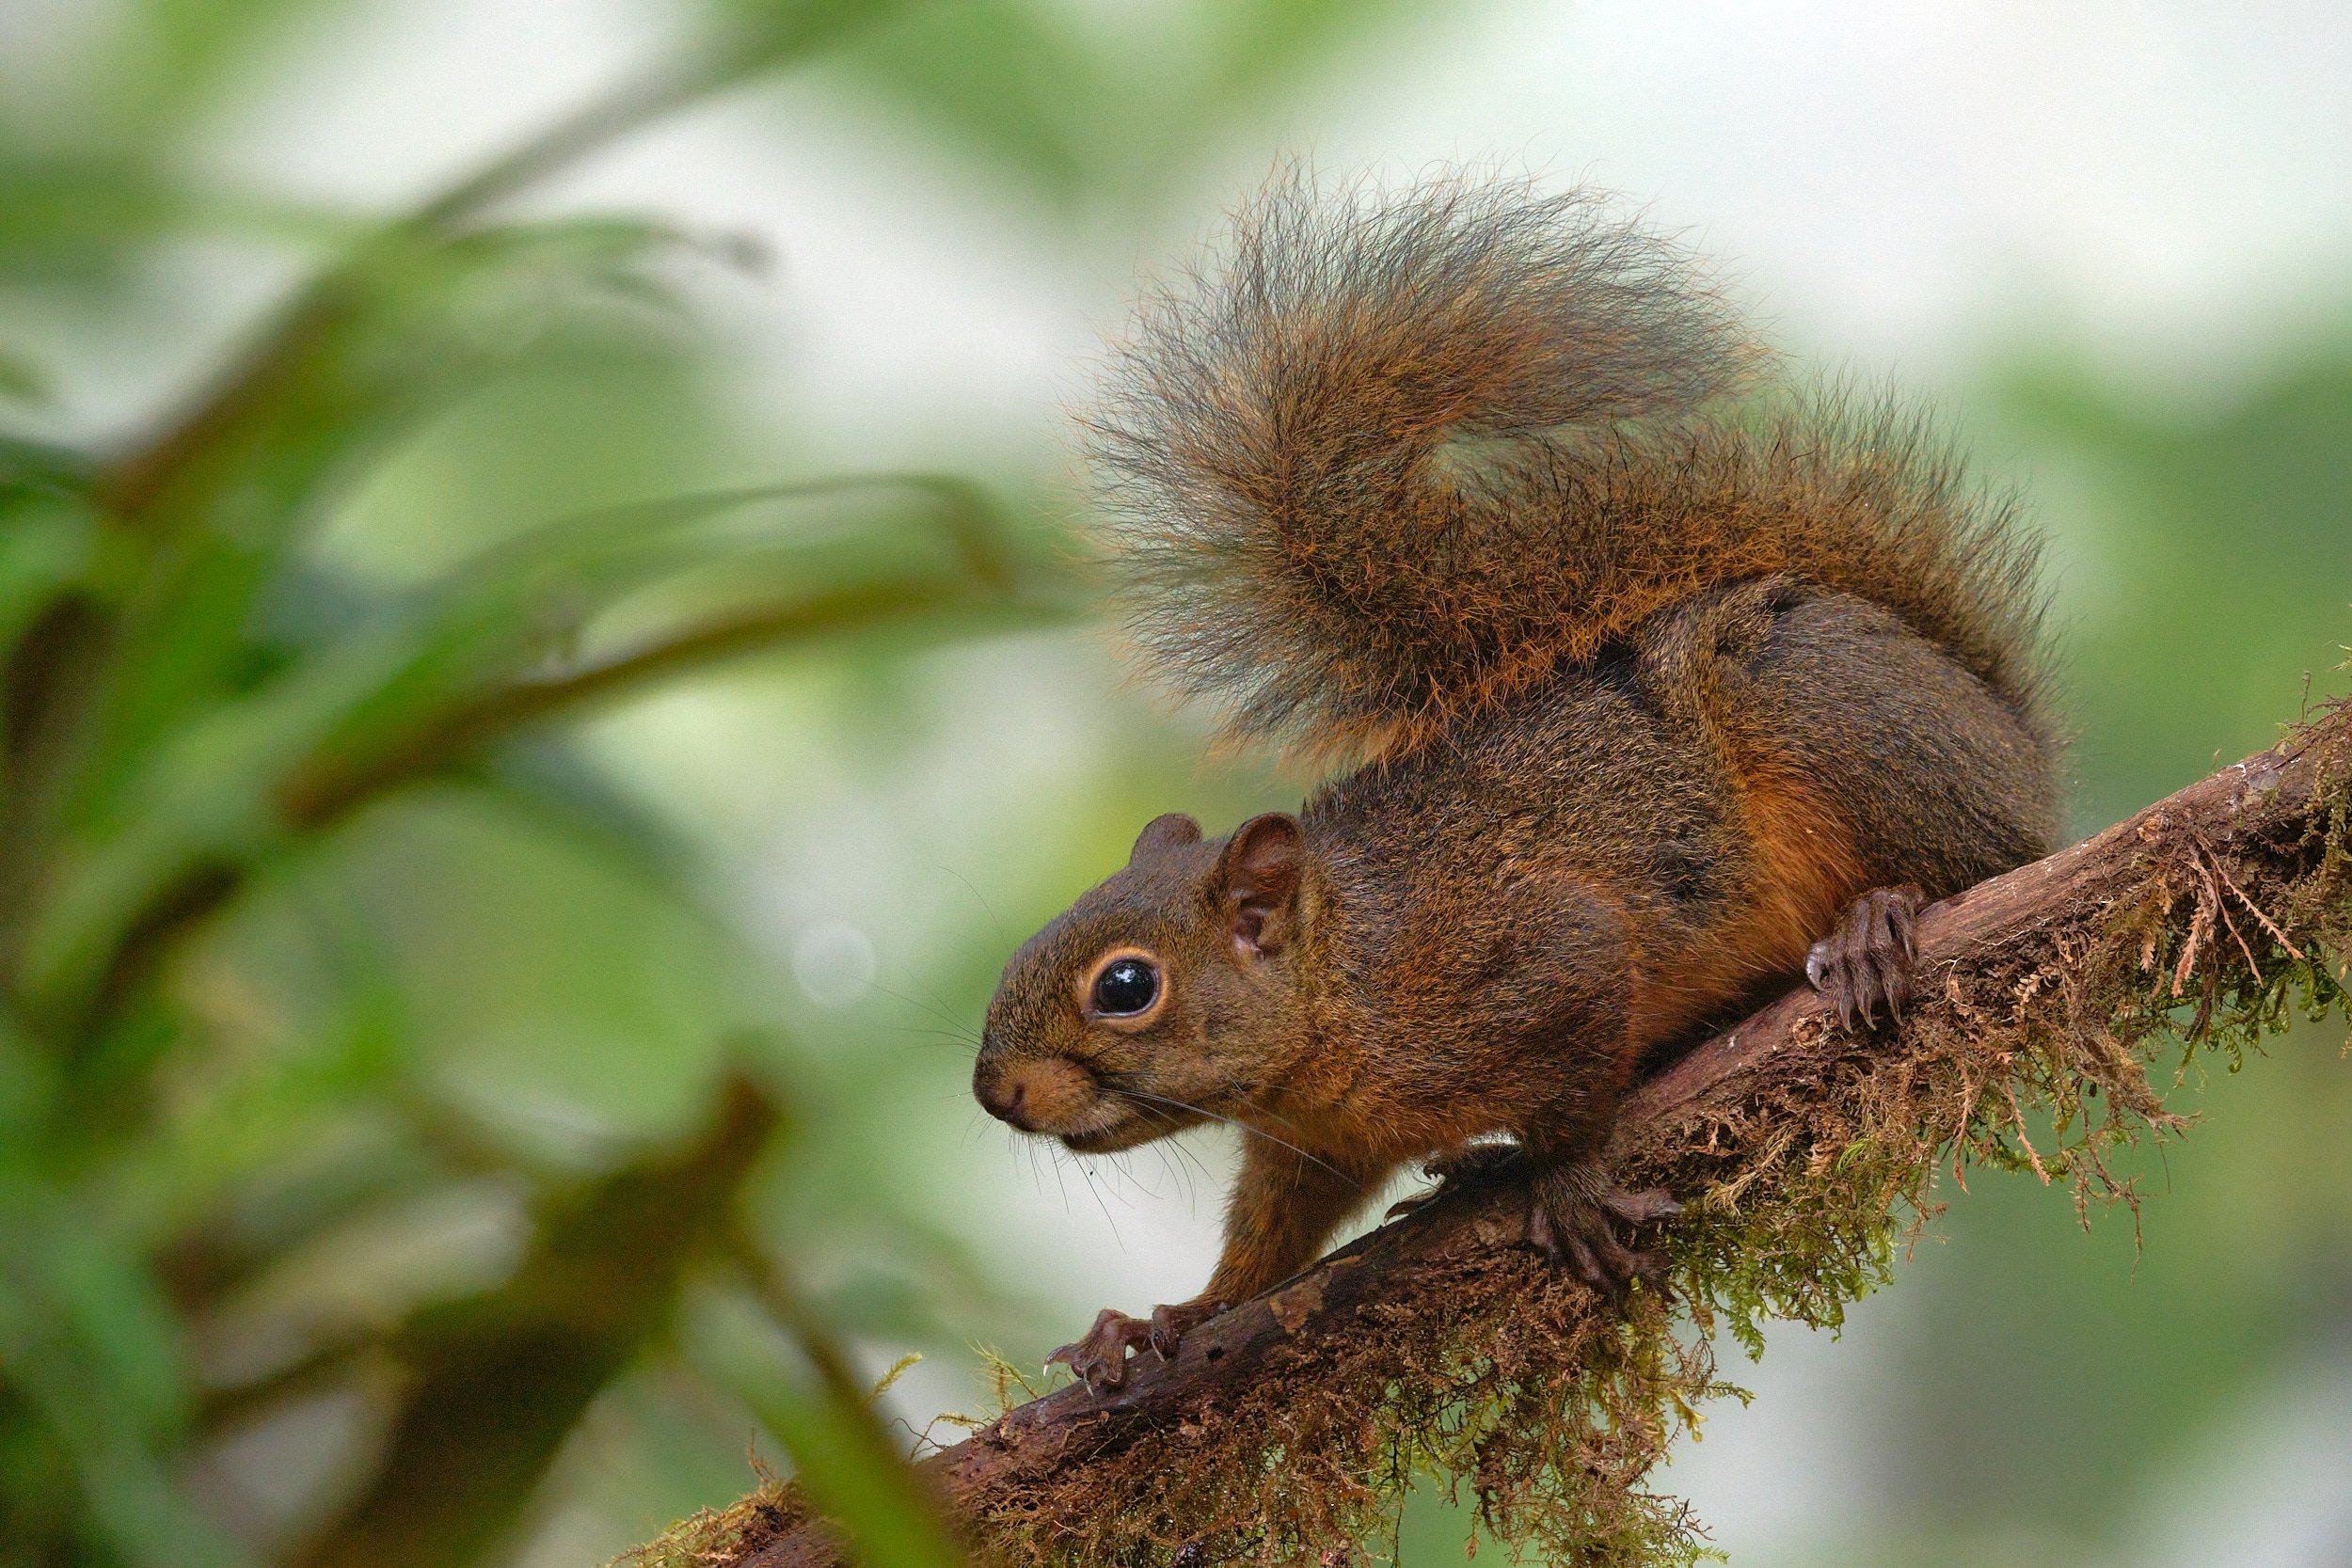
(Fujifilm X-H2S + XF150-600mmF5.6-8 R LM OIS WR at 451 mm, f/8, 1/60 sec, ISO 5000)
In general, the usage of new detection modes is very similar to the long-available human face and eye detection. When it is active and an animal is detected in the scene, a rectangle framing either its entire body or just its head or eye appears. Activating the AF then focuses on that spot. If the subject is not detected, it focuses on a manually positioned AF point.
Using object detection has its specifics, of course. You have to reckon with the fact that it works with analyzing an image from the sensor, so if you have focused on infinity and want to take a picture of a sparrow three meters away, even the best algorithm will not recognize the bird in a totally blurred photo. So you have to focus at least at an approximate distance first. Subject detection works within some range around the focus point. If it is located in the bottom left corner, for example, and the bird appears in the top right, the detection will not pick it up — so it seems optimal to place the focus point in the center of the frame. When using AF-C, it will keep the animal locked all around the viewfinder, whether it moves on its own or you recompose. it is also important to note that the detection of a subject does not mean yet that it is focused. For example, a fast-moving animal in low light may be detected by the processor, but AF may not be able to get it into focus.
Last but not least, I would like to mention that the object detection system puts more demands on the processor, which affects battery life. I did not take an exact measurement, but during a full day of hummingbird photography, when the camera was practically always in use with detection enabled, the battery indicator bars were disappearing a bit faster than usual. At the same time, the camera also got to the point where it signaled a risk of overheating. But these were specific conditions of almost continuous shooting for several hours in relatively high temperatures (and by the way, my colleagues’ high-end mirrorless cameras from the other brand overheated during this shooting).
If you take mentioned into account, I am sure that you will find object detection a very helpful tool and benefit from its advantages, just like I did. For me, it is definitely one of the top features of the new body. And I am looking forward to seeing where cameras will go in this respect in the next generations, as further improvements can certainly be expected here.
In addition to speed, the new stacked sensor provides excellent image quality. Do not expect me to do laboratory tests (specialized magazines made them for sure) — I am all about field use and the usability of the photos. Shooting in the darkness of a tropical rainforest brought many opportunities to give the camera a hard time in quite challenging conditions, and I am more than satisfied. Noise at high sensitivity is very subtle and non-disturbing. With today’s postproduction tools quality, I would be perfectly comfortable using the whole ISO range, though, for sure, it depends on the situation. It always works out better if you increase the ISO in somewhat acceptable lighting conditions to achieve a faster shutter speed for an action shot than in twilight when even your eye cannot recognize colors and details very well anymore. For the sake of completeness, I will add that all the photos in this article were edited in Capture One only, without the specialized noise removal tools that can often work near miracles these days.
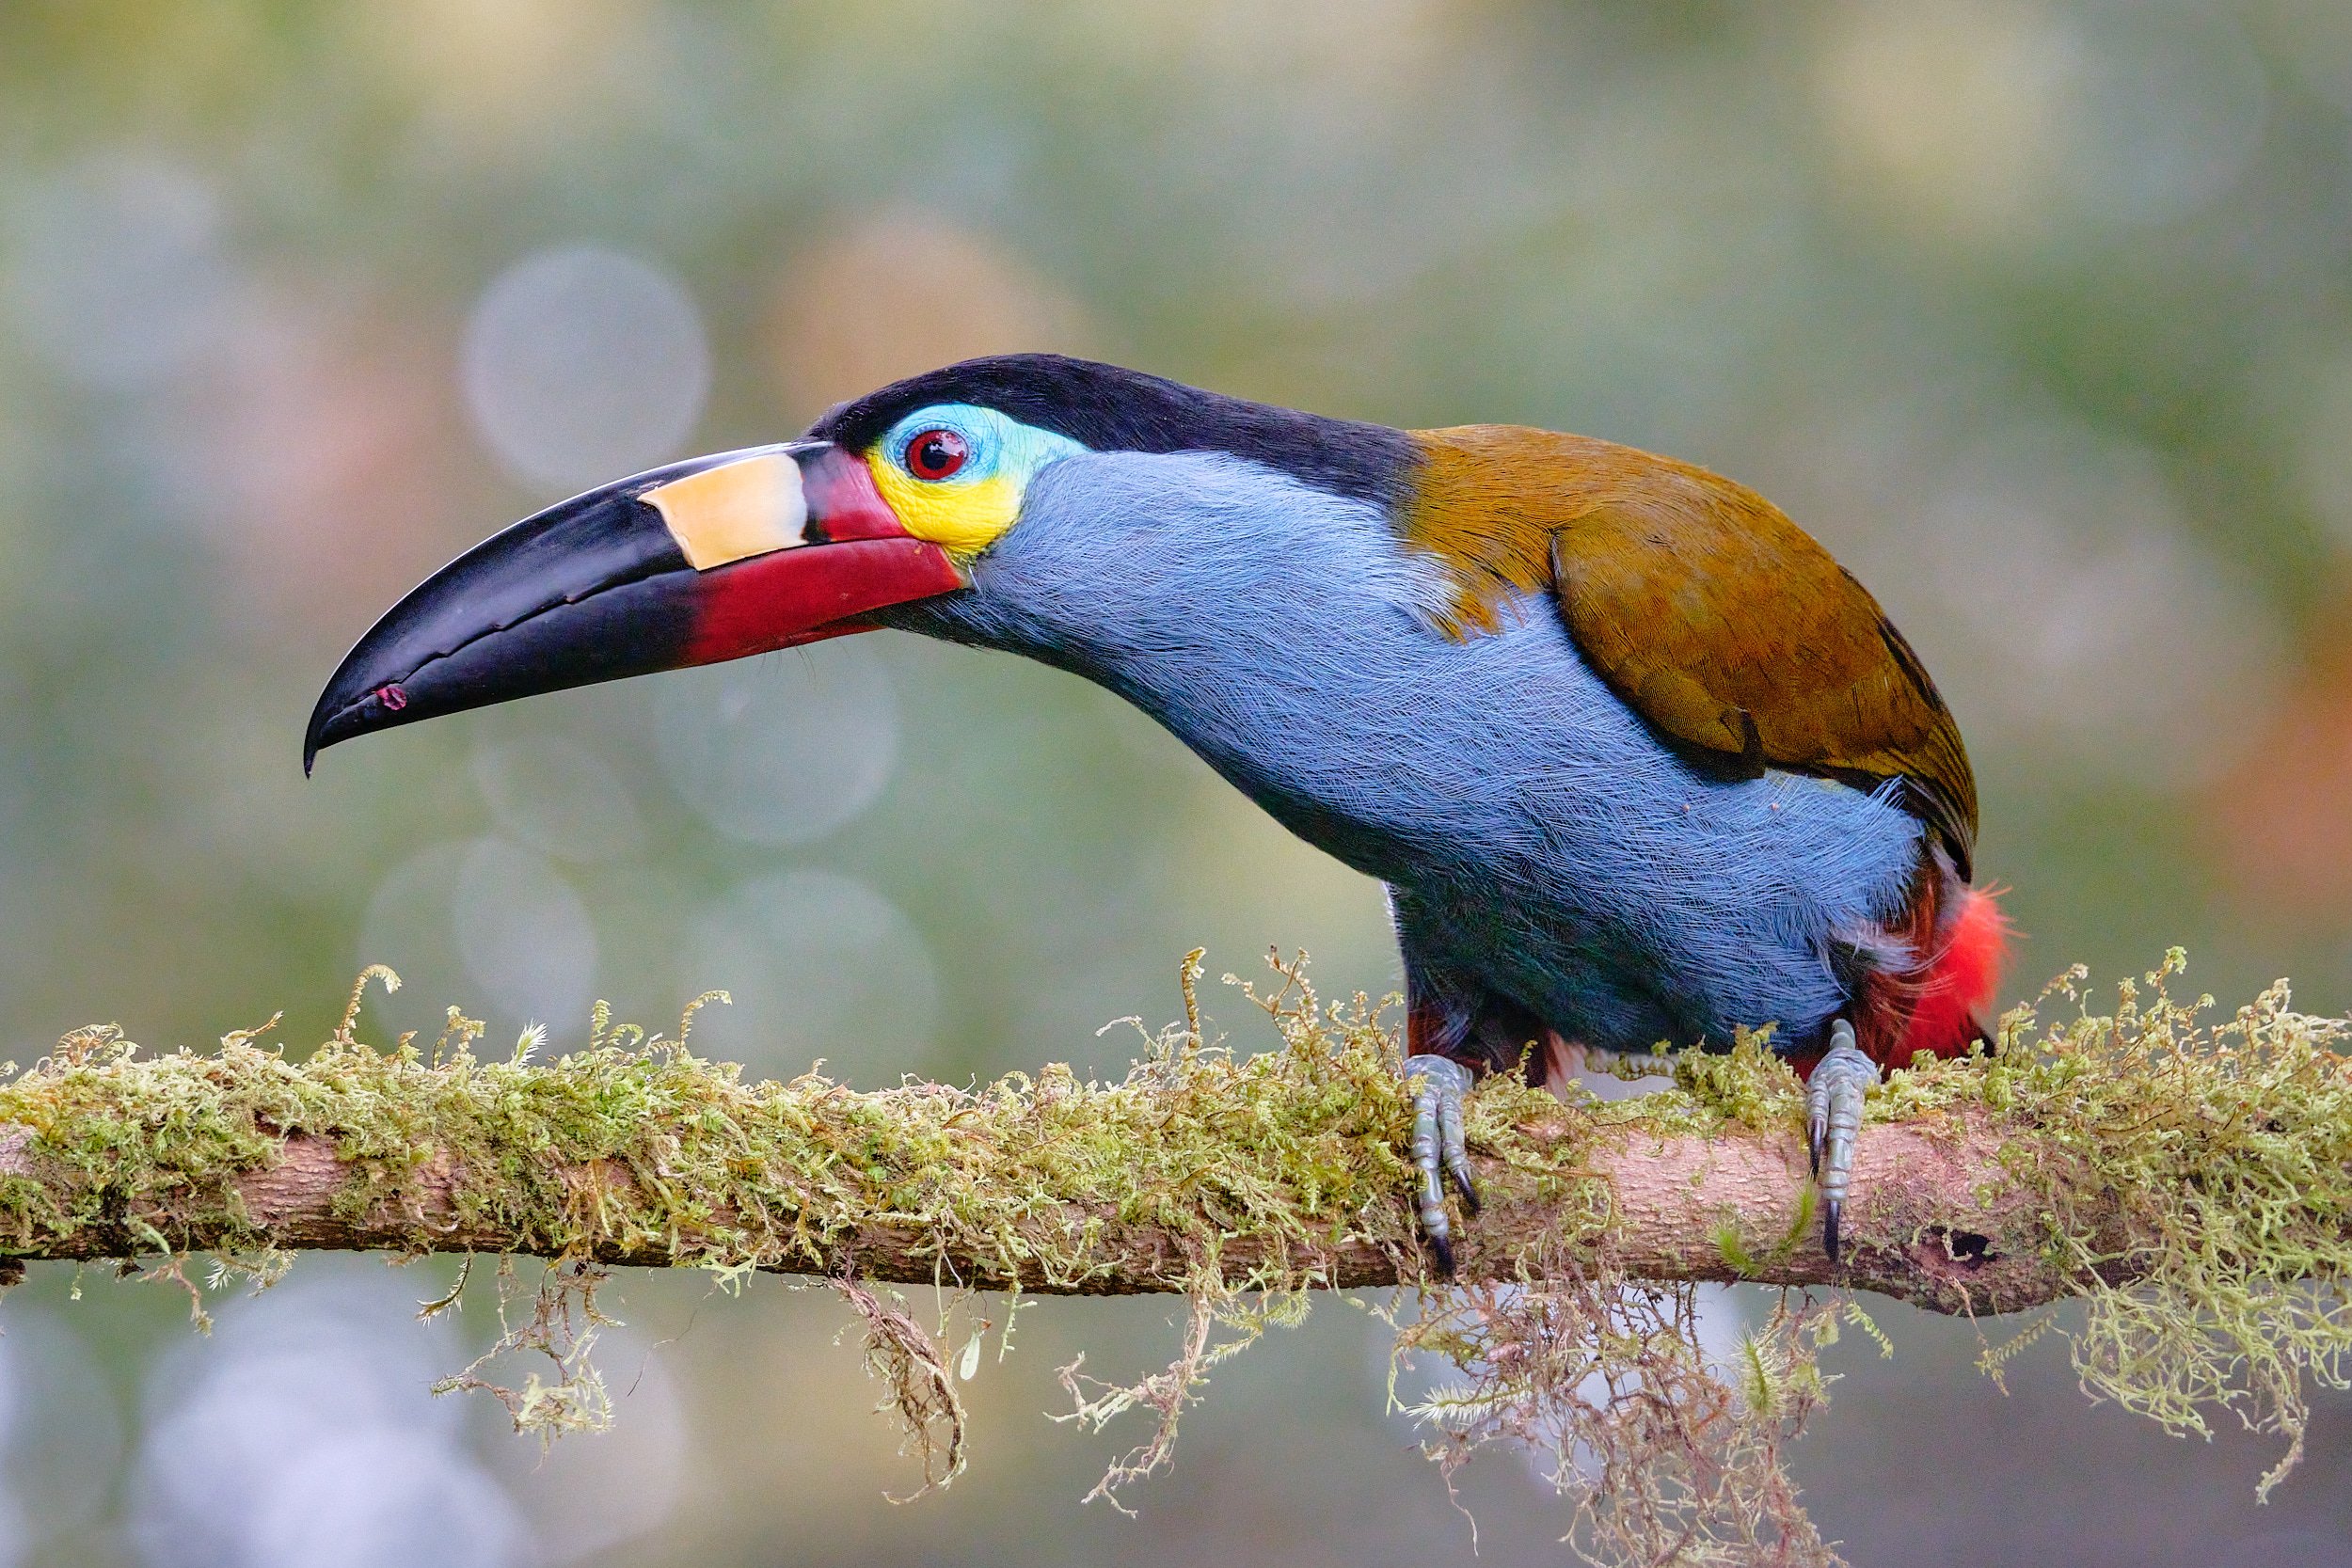
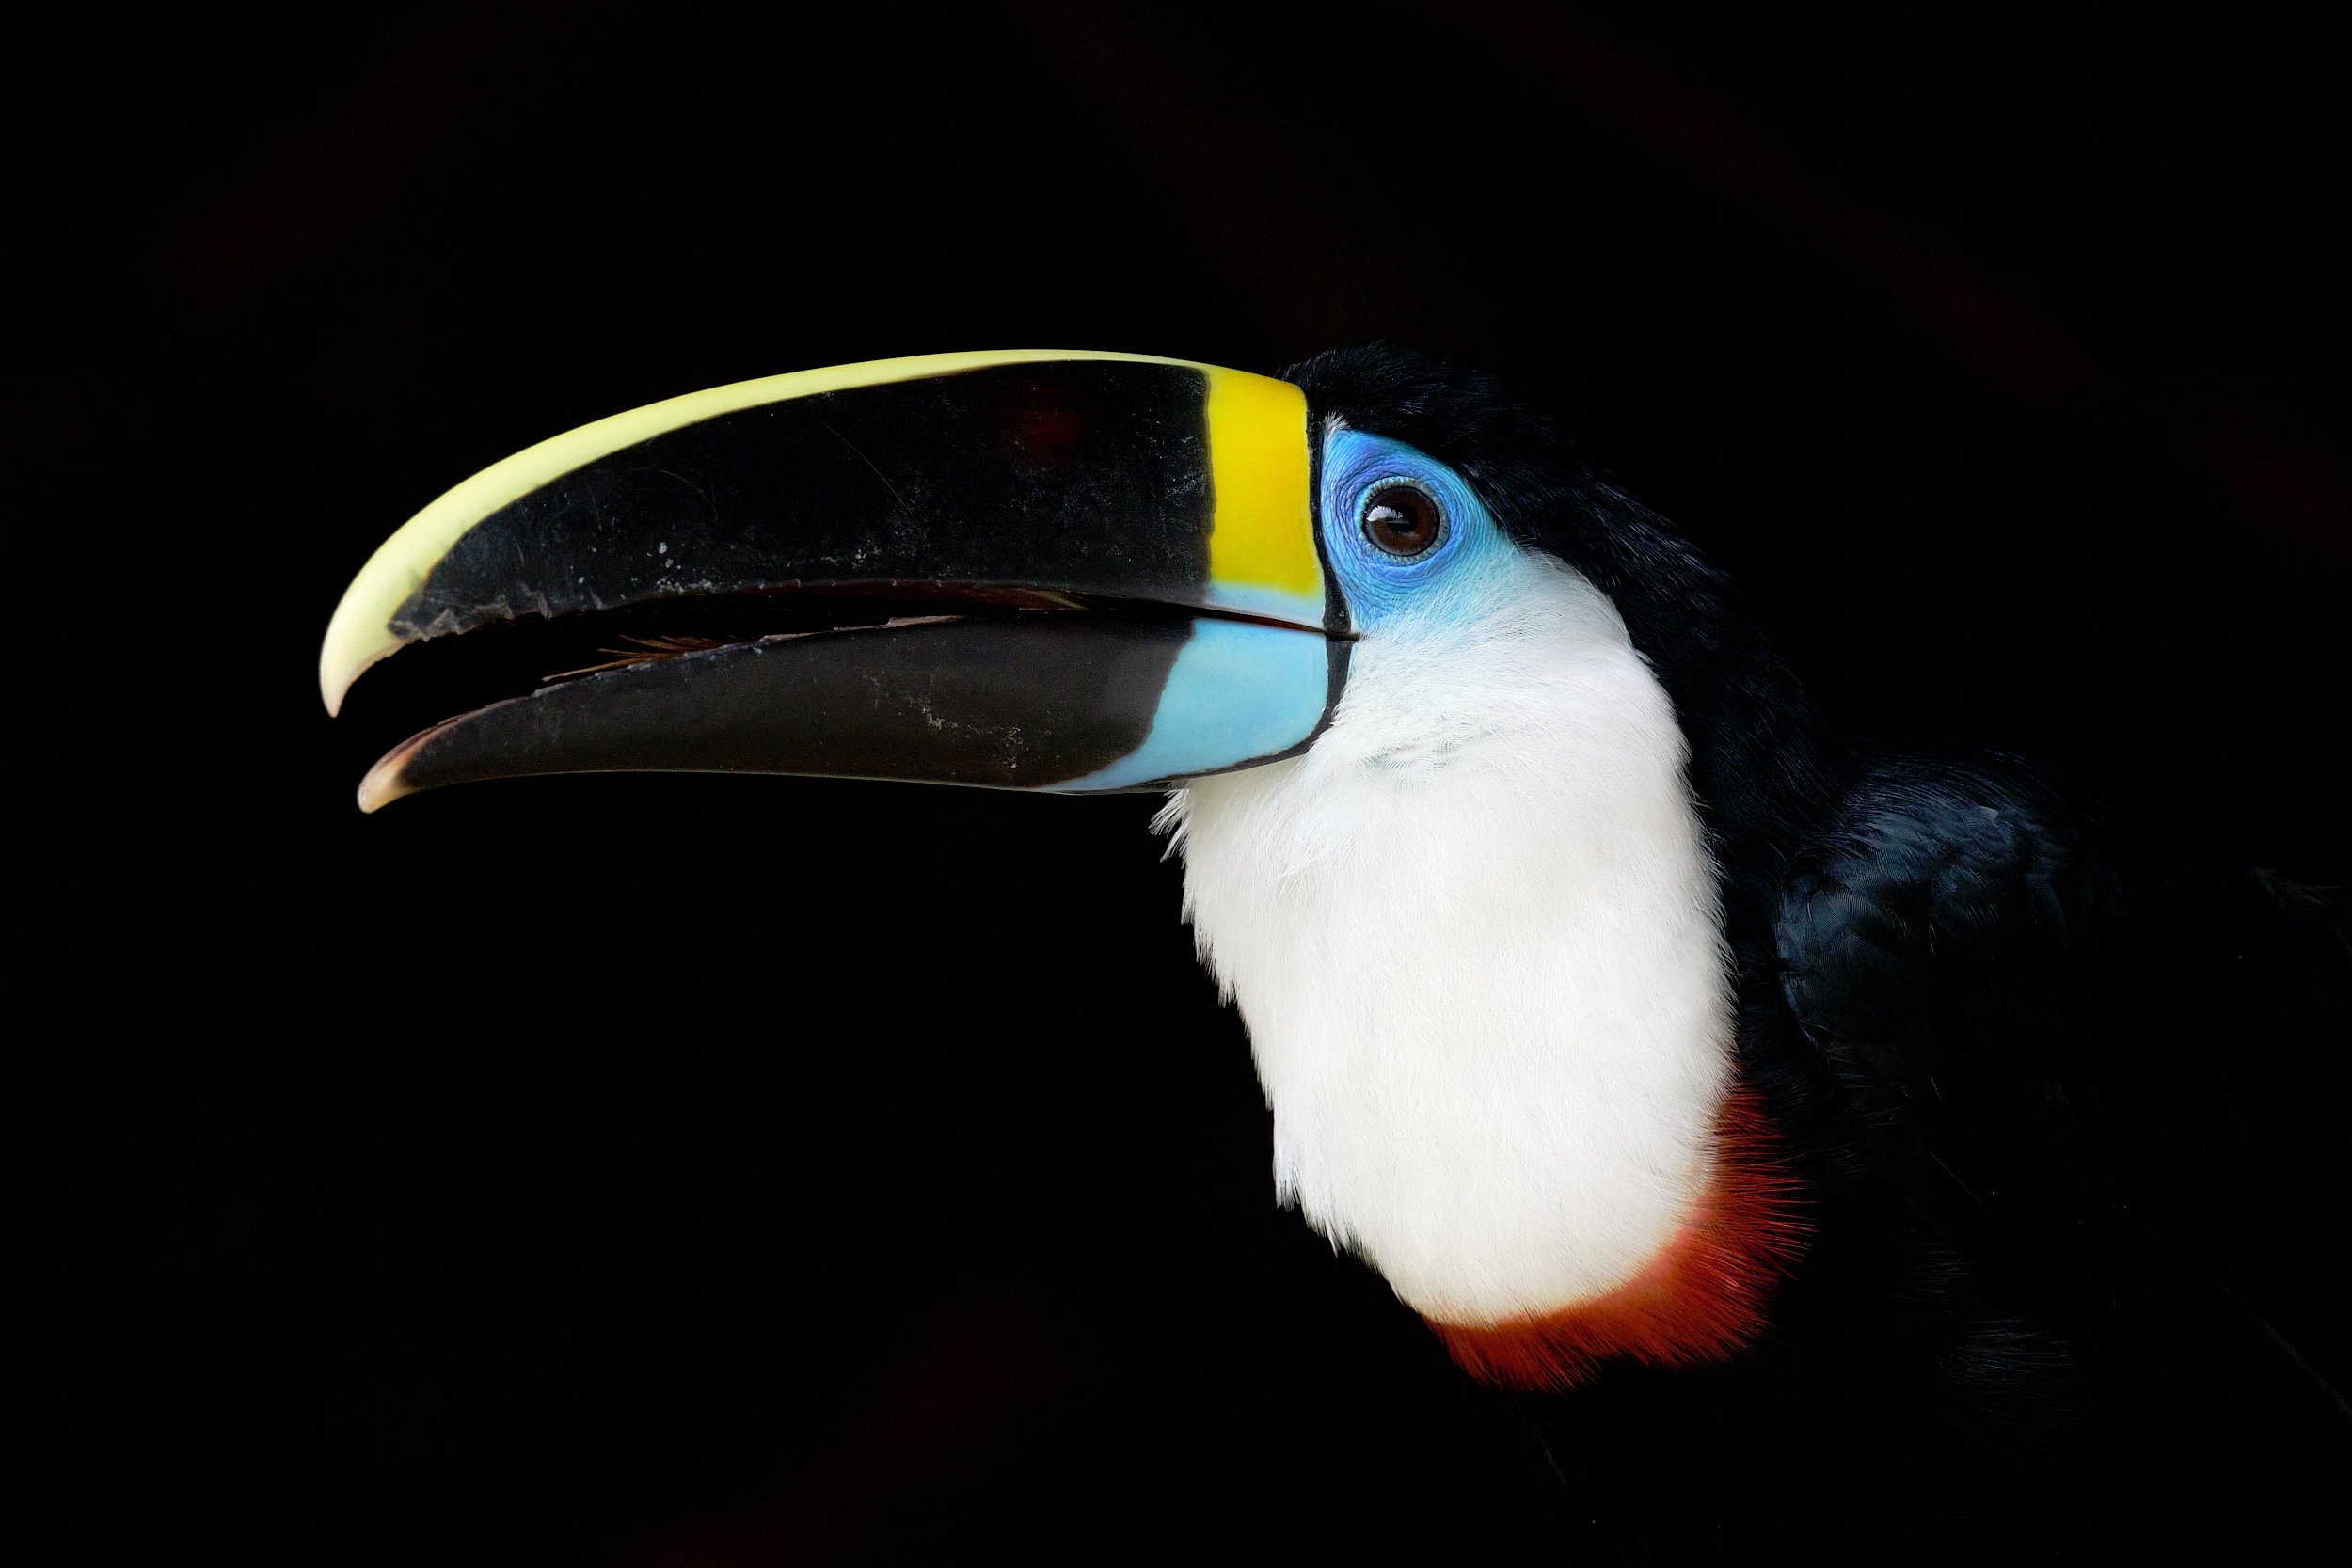
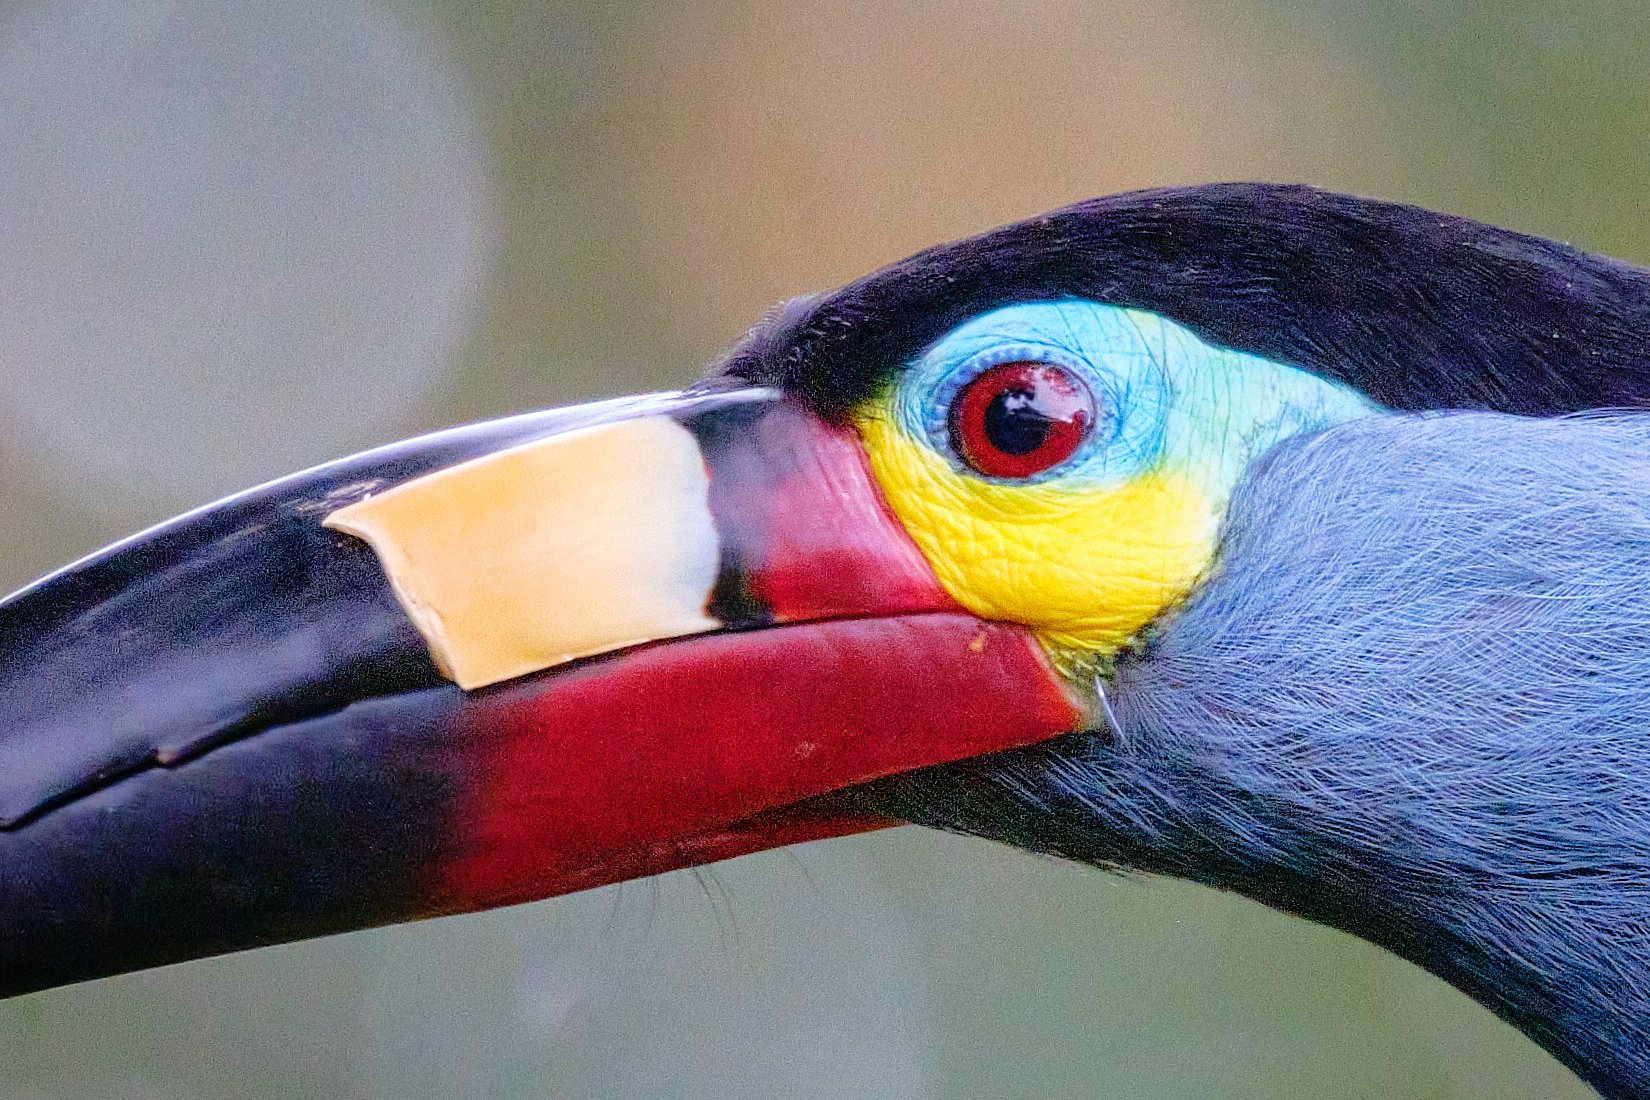
Plate-billed mountain toucan, Ecuador
(Fujifilm X-H2S + XF150-600mmF5.6-8 R LM OIS WR at 420mm, f/8, 1/250 sec, ISO 10000)
Before the conclusion, I should not omit the video. I do not specialize in filming, so just a short recap. X-H2S brings a significant improvement over the X-T4 — worth mentioning is the 6.2K resolution, high-speed recording in 4K at 100 or 120 fps, better quality FullHD video at 240 fps, or the ability to save ProRes footage to a card (CFexpress only) or even RAW video to an external recorder.
Two weeks of shooting is perhaps enough to conclude that the X-H2S has done exceptionally well. it is a supercharged camera with a high-quality sensor and a fast processor that pushes the capabilities of the Fujifilm X system quite a bit further. With my minimalist approach to shooting, the need to pack very light at times, and my affection for the X-T series, I still wish to have some of its features in a smaller body, but the X-H2S is an extremely appealing model and rightfully deserves the title of flagship among Fujifilm’s APS-C cameras.
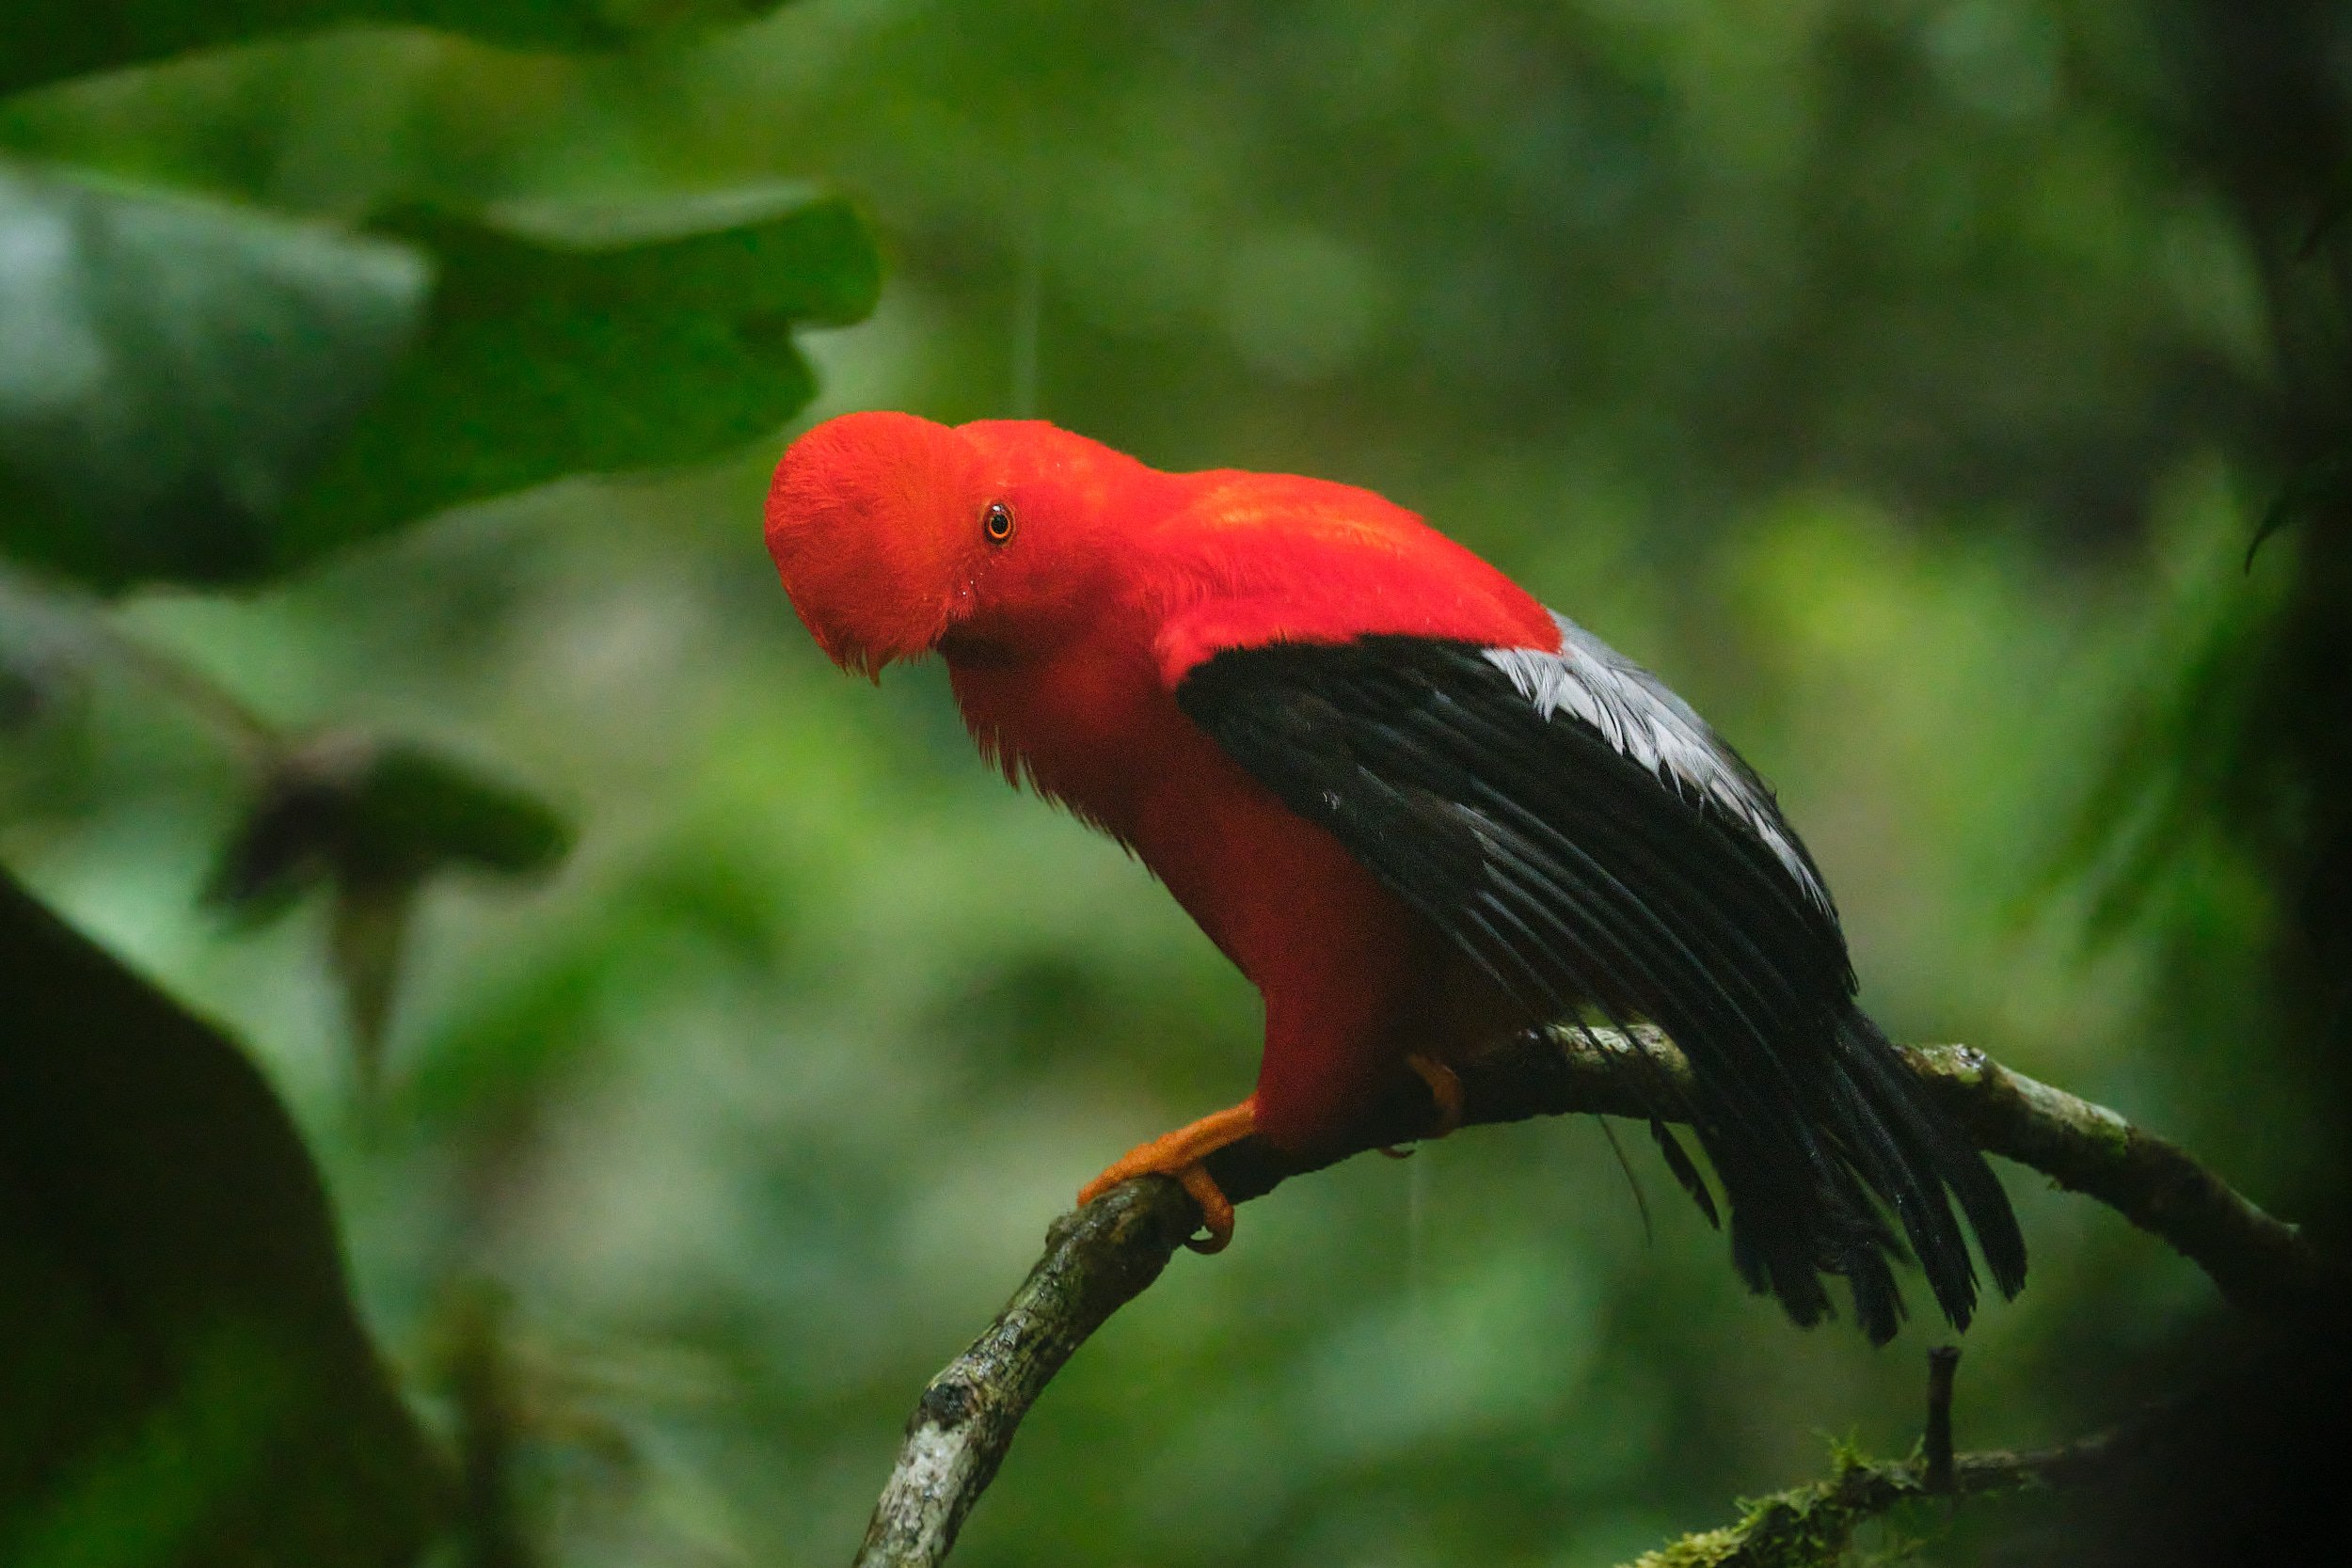
Andean cock-of-the-rock, Ecuador
(Fujifilm X-H2S + XF150-600mmF5.6-8 R LM OIS WR at 600 mm, f/8, 1/30 sec, ISO 6400)
All the photos in the article were edited using only the standard techniques in Capture One, as I always do with my photos. I did not apply preprocessing or postprocessing in specialized tools for sharpening or noise reduction.